
If you’re driving a classic Mopar – maybe a 1969 Road Runner, a ’67 GTX, or a ’70 Super Bee, or in our case a 1970 Dodge Coronet 4 Door Sedan – you already know the feeling: watching your door drop when you pull the handle. We’ve all seen it. Maybe your door takes a shoulder-check to close. Maybe it sags just enough to scrape your paint or squeak like an old barn. If that sounds familiar, it’s time to talk about B Body Door Hinges, and why replacing them with high-quality reproductions from TNT Auto Parts is one of the most rewarding upgrades you can make to your 1966–1970 Mopar B-body.
Whether you’re restoring a project car, upgrading a weekend cruiser, or keeping a family heirloom alive, replacing worn-out hinges isn’t just about cosmetics—it’s about fit, function, and pride. Auto Metal Direct Mopar B Body Door Hinges are Licensed Mopar Authentic Restoration Parts and duplicate the original hinges in quality. In this post, we’ll walk you through the entire process step-by-step, and give you some motivation (and confidence) to finally knock this off your to-do list.
Why Door Hinges Matter More Than You Think
Let’s be honest: door hinges don’t get the love they deserve. They’re not flashy, they don’t add horsepower, and they aren’t going to win you awards at a show, but nothing is worse than the problems they can cause!
A sagging door can, for example:
- Chip or rub against your rocker panel
- Misalign your weatherstripping (leading to leaks and wind noise)
- Stress your latch and striker
AMD’s door hinges are precision stamped from OE gauge steel and built to original specs. They come ready to install and deliver that “factory-fresh” fit that makes a door open and close like it should—smooth, aligned, and effortless.
If you’re wondering if the trouble will be worth it, here’s your motivation: every time your door shuts smoothly with one hand without the dreaded lift-and-shove routine, you’ll be glad you made the replacement.
What You’ll Need
Tools:
- Door jack, floor jack with a piece of wood and a microfiber towel, a ladder with some ratchet straps, or a strong friend
- Ratchet and socket set
- 9/16″ and 1/2″ wrenches
- Phillips screwdriver
Materials:
- AMD 1966–1970 Mopar B Body Door Hinges
- Painter’s tape
Estimated Time: 1.5 to 2.5 hours per door
Step-by-Step: How to Replace Your Mopar B-Body Door Hinges
Note: This guide applies to most B-body cars including Dodge Charger, Coronet, Plymouth Belvedere, GTX, Road Runner, and Satellite from 1966–1970.
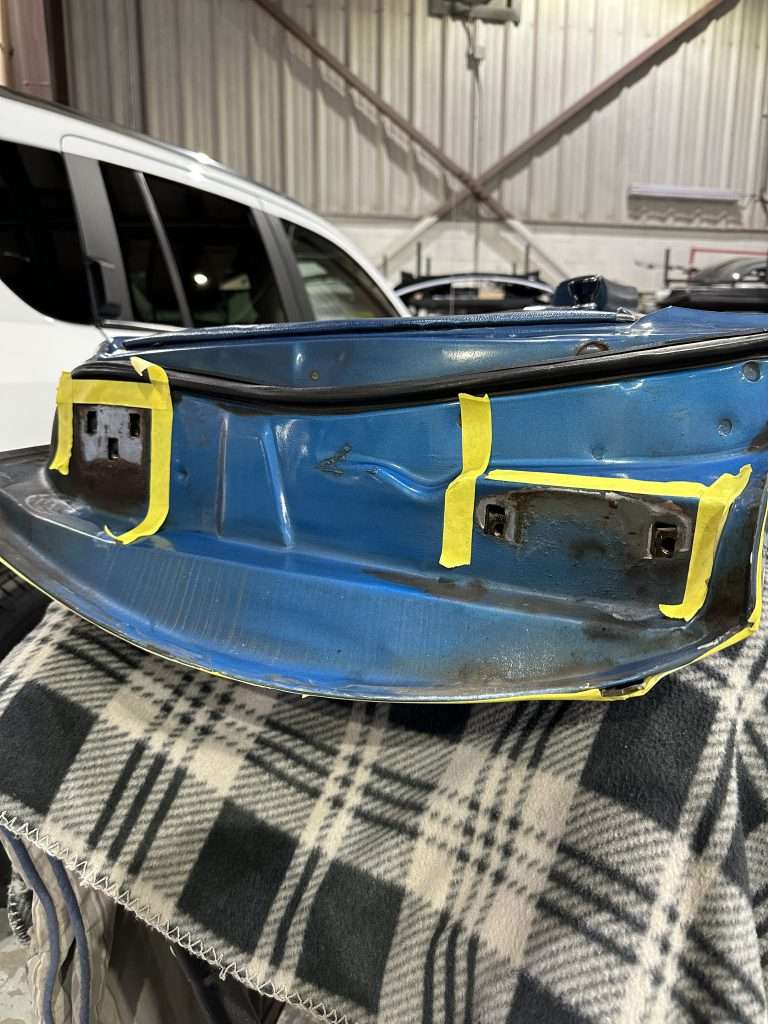
Step 1: Prep the Area
Prepare the area using painter’s tape to line the fender edge and door edge to prevent scratches and dings during removal.
Step 2: Support the Door
Place a floor jack under the door with a padded wood block, use a door jack with padded arms, or have a friend hold the door while you remove the door from the hinges.
Step 3: Mark the Hinge Locations
Use a Sharpie, scribe, or painters tape to outline the hinge positions on the door and A-pillar. These markings are crucial for alignment.
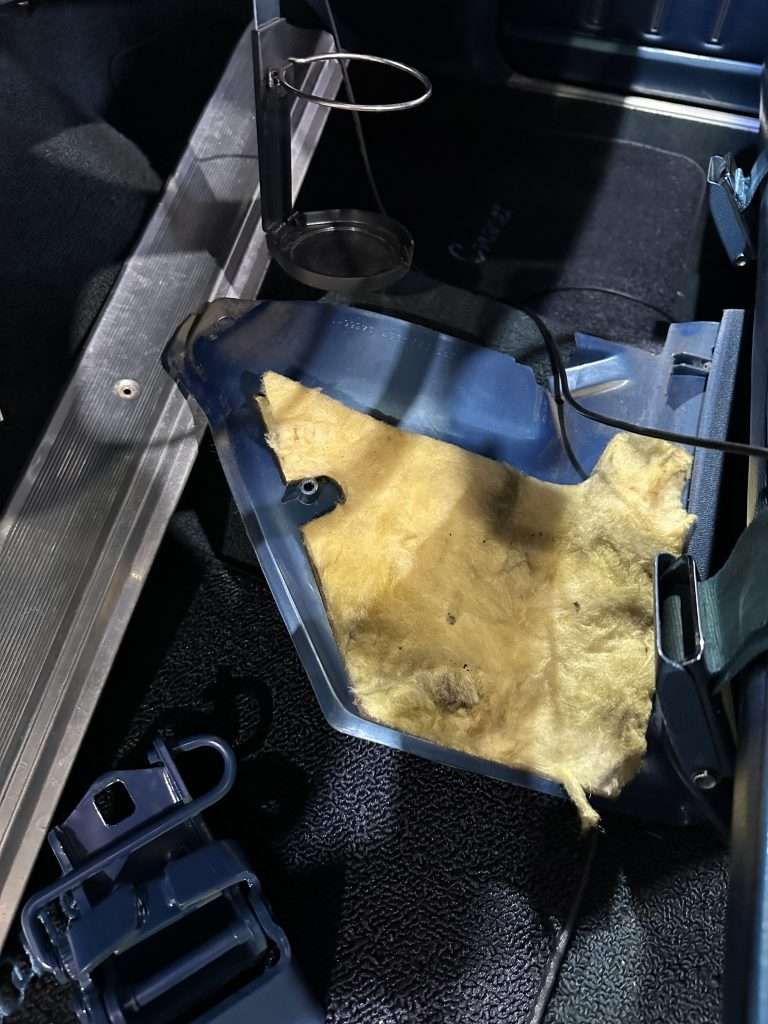
Step 4: Remove the Old Hinges
Start by removing the door sill plate, then the kick panel. When removing the original hinges, start with the lower hinge. Remove the door side bolts first, then the pillar side. Repeat for the upper hinge
Step 5: Compare the Hinges
Be Sure to check the AMD B Body Door Hinges against your originals for correct shape, bolt pattern, and orientation.
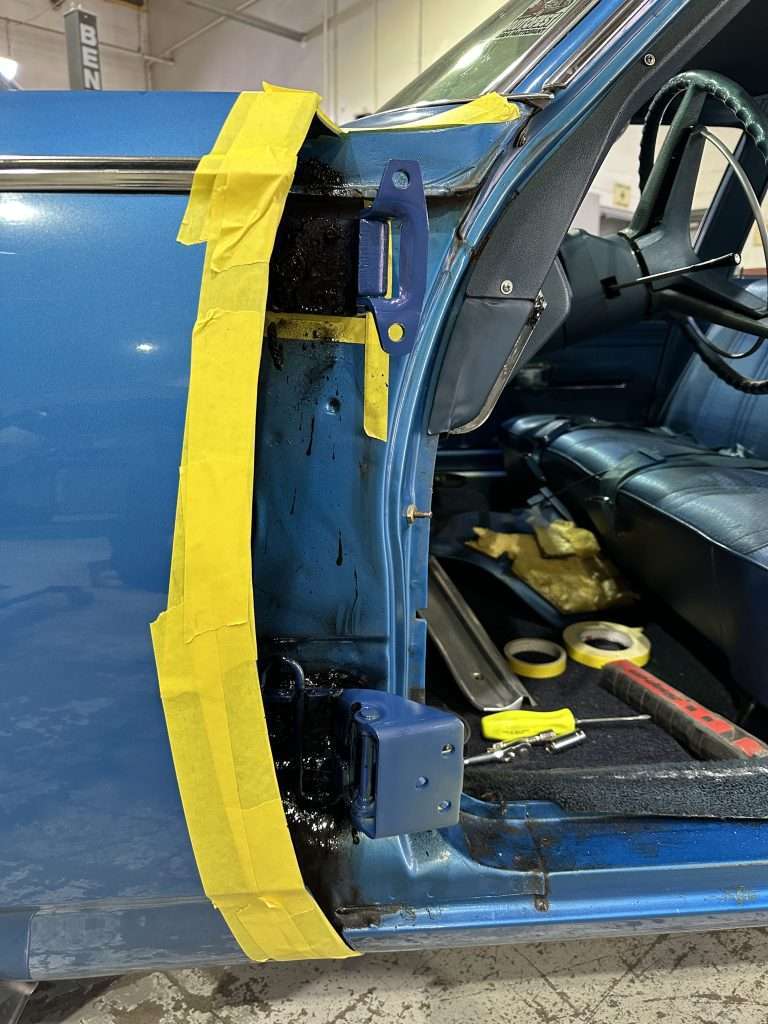
Step 6: Install New Hinges on the Pillar
Prior to installation, you may want to paint your door hinges to match your cars paint color, as the door hinges will come bare metal. Install the new hinges to the A-pillar using your marks. Snug the bolts but don’t fully tighten yet.
Step 7: Mount the Door
Mount the door to the new hinges. Use your markings as a guide and test-close the door before tightening.
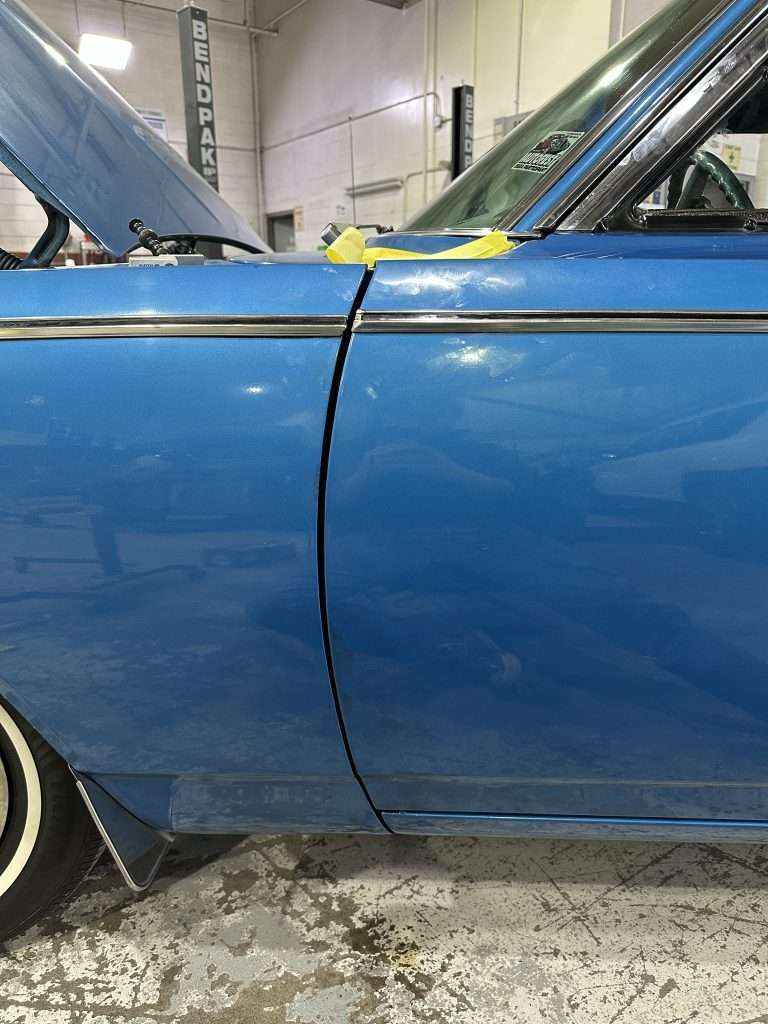
Step 8: Test and Fine-Tune
Open and close the door slowly. Adjust hinge position as needed for gap alignment and flush fit. This is the most time consuming part of the install. Take your time and be patient, making fine adjustments and ensuring all of your gaps are as they were before.
Step 9: Final Tightening and Grease
Tighten all bolts and grease the pivot points to ensure smooth movement and prevent wear.
Step 10: Stand Back and Smile
Enjoy the clean shut and better alignment. A small job with big payoff!
Why You’ll Thank Yourself Later
Replacing B Body Door Hinges can feel intimidating—especially on a classic. But here’s the thing: you’re preserving a legacy. These cars deserve to feel right when you interact with them.
Every time you open and shut the door without fuss, you’re investing in the experience. Plus, you’ve just saved yourself money in the future, because sagging doors don’t fix themselves—they only get worse.
Final Tips
- Replace both B Body Hoor Hinges (upper and lower) at the same time
- Do one door at a time so you can use the other as a reference
- Take photos before disassembly to help during reinstallation
- Don’t rush alignment—a little patience goes a long way
Where to Get the Right Parts
TNT Auto Parts offers AMD direct-fit door hinges made from OE gauge steel and designed to match your factory specs. These fit:
- 1966–1970 Dodge Charger
- 1966-1970 Dodge Coronet
- 1969 Dodge Daytona
- 1966–1970 Plymouth Belvedere
- 1966-1970 Plymouth GTX
- 1966-1970 Plymouth Roadrunner
- 1966-1970 Plymouth Satellite
- 1970 Plymouth Superbird
Purchase Your New Door Hinges Here:
Wrap-Up
Replacing your door hinges isn’t just a wrench-turning task—it’s a way to improve the everyday feel of your classic Mopar. Whether you’re chasing perfection or just sick of that annoying door sag, this is a DIY job that delivers instant results.
Now that you’ve got the knowledge, the motivation, and the right parts—all you need are the hinges! Place an order HERE
Have questions or want to show off your results? Drop a comment or tag us in your photos—we love seeing these classics get the attention they deserve.
Check Us Out On Facebook
Subscribe To Us On Youtube